¶ Inventory Categories
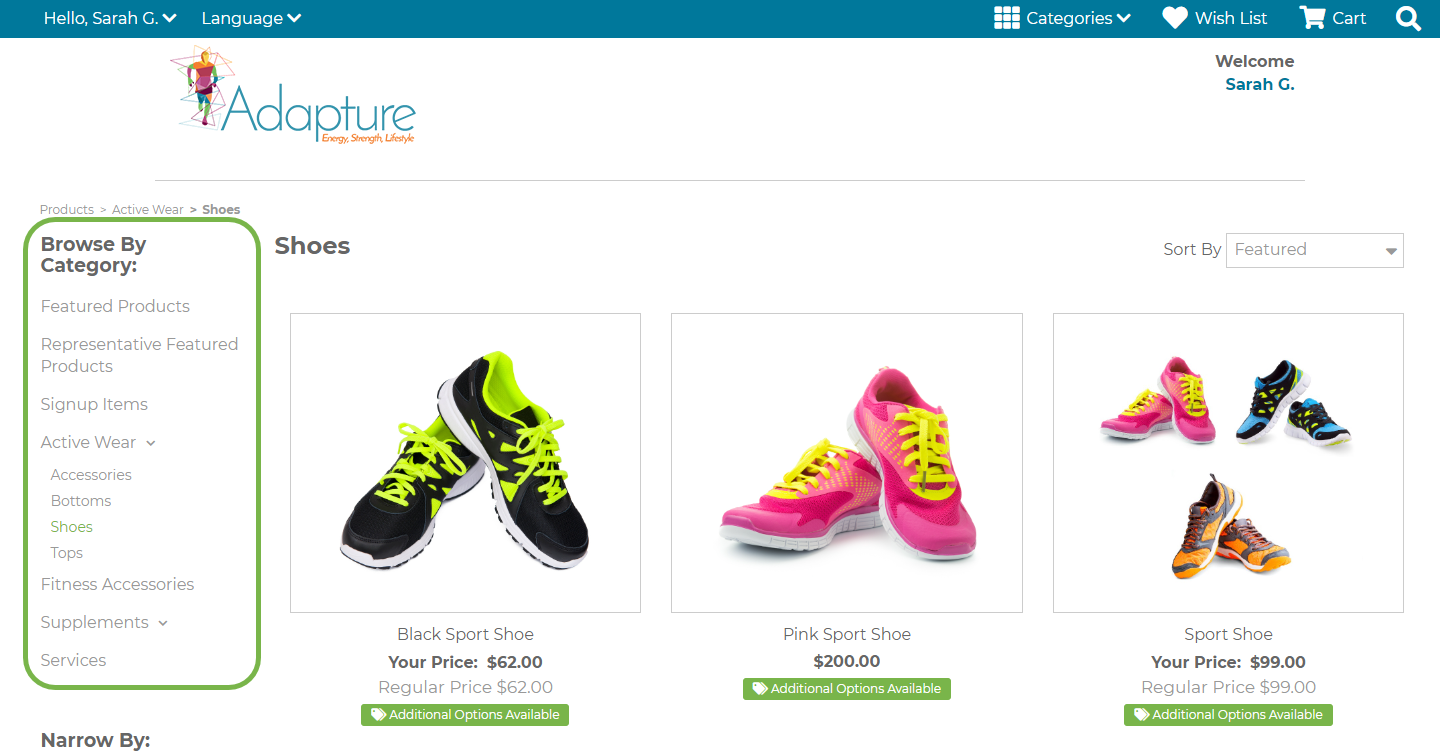
Inventory Categories are used in two places of the Shopping Cart's Browse By Category filters or Landing Page.
When browsing through the Shopping Cart, you can select different categories on the left side. If a down arrow appears (See Active Wear and Supplements), there are subcategories associated to the parent (Accessories, Shoes, etc.).
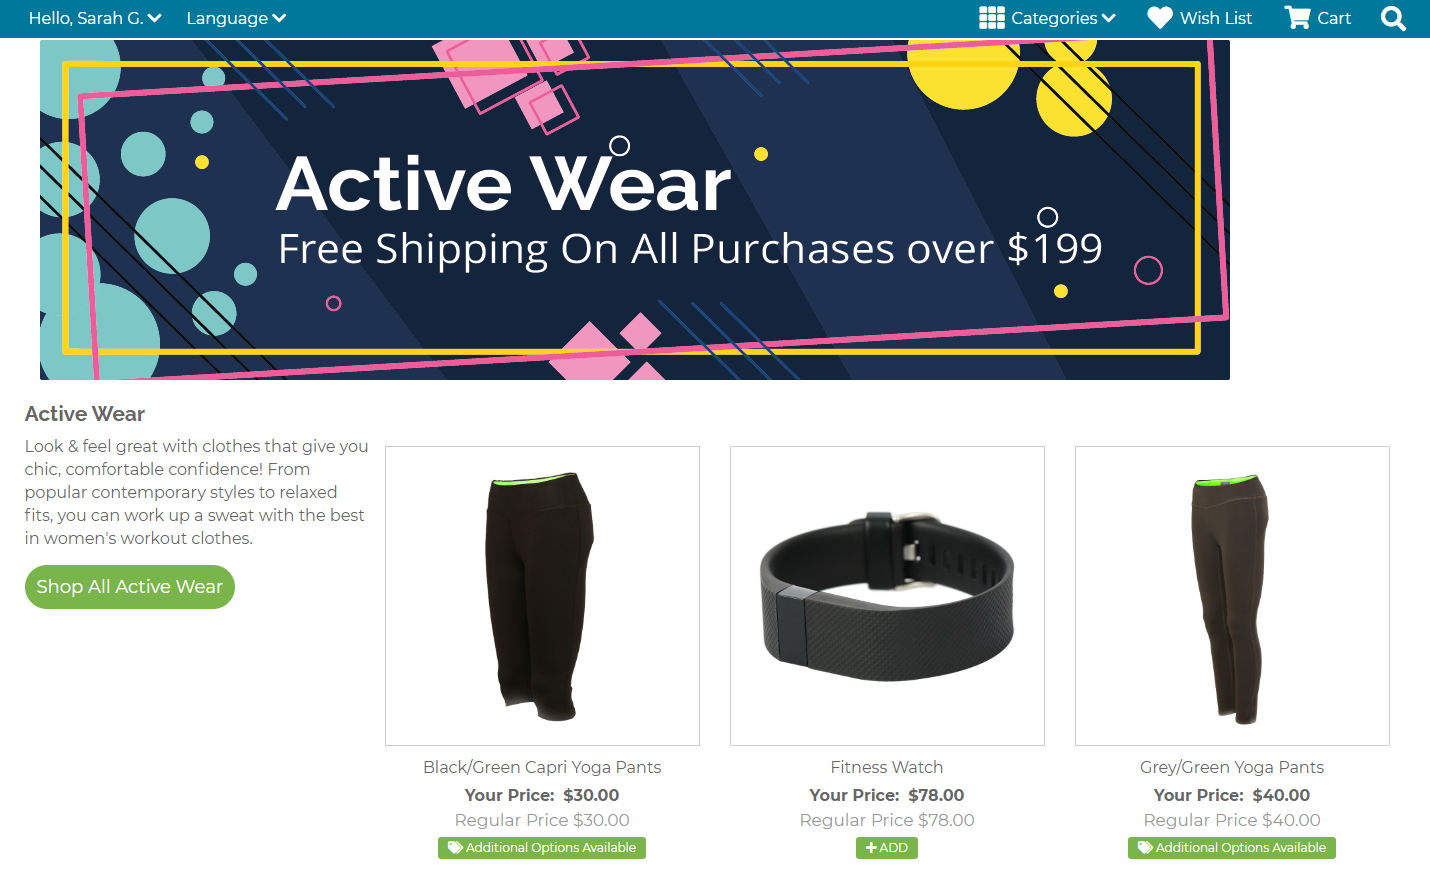
In addition, the Landing Page can be configured with categories to highlight specific products and guide sales.
¶ Steps
- In the Freedom Backoffice, go to Department > Inventory > Administration > Inventory Categories.
- On the Inventory Categories page, select the + sign to create a new Inventory Category. If the category already exists, simply select the row to modify it.
- On the Add or Edit Inventory Category page, fill in the following fields:
- Category Name: Enter the description of the Category (Accessories, Shoes, etc.)
- Is Parent: Enable if the Category will be a Parent, or disable if the Category will be a Subcategory. If disabled, a new menu item, Parent Category, will appear to specify which Parent Category the Subcategory should go under.
- Sort Order: Enter in a value if the Categories need to be displayed in a specific order.
- Category Description: Enter a category description that will provide further details relevant to the category, which will be displayed for Customer and Reps.
- Display alternative text to Rep: Enable this if you do not want to dosplay the Category Description content to the Customers or Reps, and an Alternative Description field will appear where the content to be displayed can be entered.
- Button Text: This text will be displayed on the Landing page for the button that will direct the Customer or Rep to the specific Category. Enter in text for the button, or leave the "Shop All" Default.
- Description Text Column Size: Determines the portion of the Category Page to use for the Description Display:
- 1 (A quarter of the page will be used)
- 2 (Half of the page width will be used)
- 3 (Three quarters of the page width will be used)
- 4 (Entire page width will be used)
- Product Display: Choose how many products will be displayed for the Cetgory on the Landing Page. The products displayed will be determined by their sort order.
- Display On Cart List Page: When enabled, the Category Description will be displayed on the Category detail page on the Cart.
- Display On Category Landing Page: When enabled, the Category will be displayed on the Cart's Landing page.
- Display Wayroo Category: If using Wayroo, please enable to indicate if this is a Wayroo Category.
- Add Featured Image: Enable to display a featured image for the category. The recommended sizes for the images are 975px wide for Desktop images and 768pm wide for Mobile images.
- Items included: Allows you to add the items that fall under the new category, as well as specify the sort order of the item in the category.
- Click Save.
Following these steps will result in brand-new or modified Inventory Categories that will allow users in the Shopping Cart to better navigate the