This page will cover the use of Inventory Attributes.
Please refer to Rep Attributes for the article on Rep Attributes.
Attributes are usually Boolean, meaning a value of on or off, but can have a value of a Date, Number, Percentage, Period, Rank, or Status.
There are several types of attributes that can be applied to an Inventory Item. Here are a few examples.
-
An attribute called Annual Membership Fee could be used to specify that purchases of items with this Attribute applied would fulfill any “Annual Membership Fee” requirements for qualification purposes.
-
An attribute called Affiliate could be used to promote a Rep to the Rank of Affiliate based on the purchase of items with this Attribute applied.
-
An attribute called Certification Fee could be used to identify that a Rep who has made a purchase of an item with this Attribute applied has a certification needed for qualification purposes.
¶ Adding an Attribute to a Item
Below are the steps for adding an Inventory Attribute to a particular Inventory Item.
From the Item page within Inventory, navigate to:
Departments > Inventory > Administration > Inventory Attributes

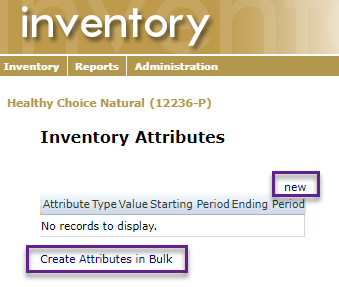
On this page, click on the word New above the table header row to add an attribute to just the selected item. If instead you wish to add attributes in bulk, select that link at the bottom of the table.
¶ Single/Bulk options
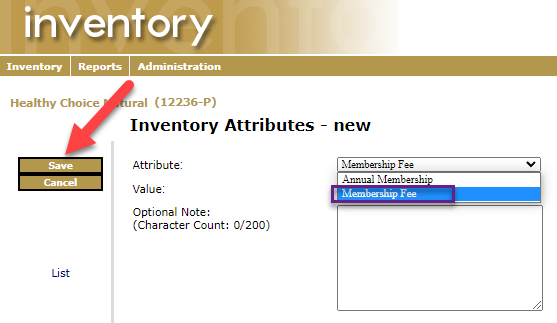
After clicking New, you will be taken to the add attribute page. On this page you will see a dropdown of the available Inventory Attributes configured in your system.
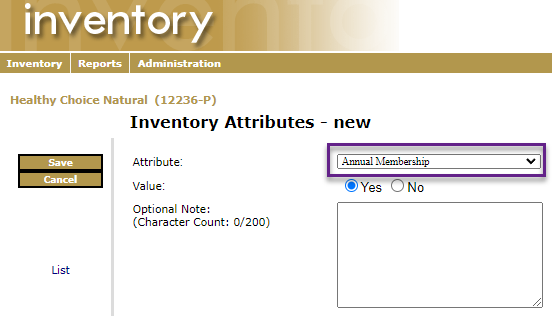
Select the appropriate attribute to be applied and click Save.
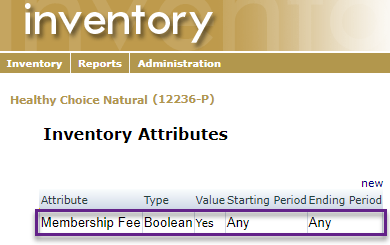
There are Yes / No radio buttons on the page, but these do not need to be used. Having an attribute means you are using the Yes radio button. If you wish to remove an attribute, you use the delete button. After Saving the attribute, it will appear in the list of attributes applied to the Inventory Item:
After clicking Create Attributes in Bulk, you will be taken to a slightly different add attribute page. On this page you will see a dropdown of the available Inventory Attributes configured in your system, an Overwrite Options field, and a complete list of all Inventory Items.
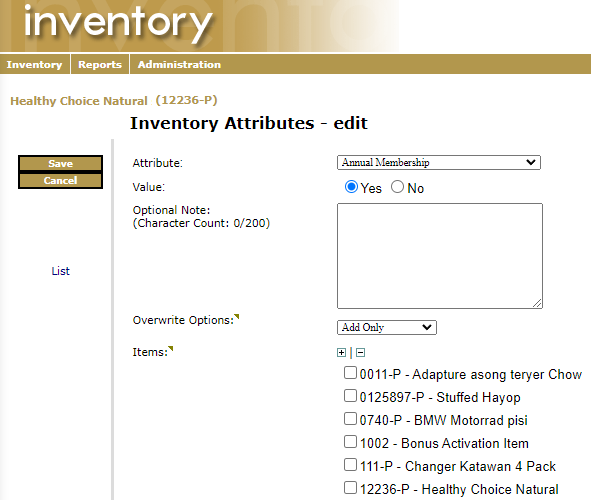
You will still select the appropriate attribute to be applied, but before you click Save, you will need to do two things:
- Choose an Overwrite Option from these options:
-
Add Only will only add new attribute values. If there is already an attribute value matching the exact attribute type and value shown above, it will be ignored to prevent duplicates. All unchecked items will keep any existing attribute values already set.
-
Overwrite Selected will delete all current attribute values of the selected attribute type from existing items. All unchecked items will keep any existing attribute values already set.
-
Overwrite All will delete all current attribute values of the selected attribute type from both selected and non selected items. The new attribute value will then be added to the selected items only.
- Select the Inventory Items to which the new attribute will be applied (there are checkboxes that must be individually checked for each applicable item).
After clicking Save you will be returned to the specific Inventory Item record you had previously selected and shown that item's list of Inventory Attributes.
You will not be shown any notification that all of the bulk updates occurred. You will need to check each item individually to confirm, if necessary.
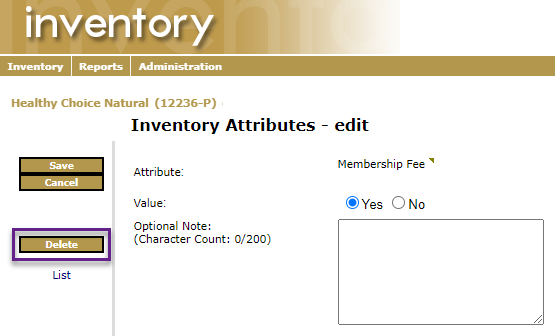
¶ Remove an Attribute
In order to remove the attribute, simply click the row of the applied attribute. This will bring you back to the page you previously used to assign the attribute. Now a Delete button will be displayed. Click this button to remove the attribute from the Inventory Item.
A pop-up warning box will appear. Once you click OK on that warning, the Inventory Attribute listing will appear again, and the deleted attribute will no longer be present in the list.