This page will cover the use of Rep Attributes.
Please refer to Inventory Attributes for the KB article on Inventory Attributes.
See also Customer Attributes.
¶ Overview
Rep Attributes allow for the creation of qualification overrides that can be applied to individual representatives (Rep) or Business Centers (BC). Rep Attributes also provide the ability to mark a Rep or Business Center with unique flags that can be used to distinguish that Rep or BC from others. Rep Attributes can be applied to a Rep on the following page: Rep’s Back Office Page > Left Side Menu > Bonus > Administration > Attributes
Attributes are usually Boolean, meaning a value of on or off, but can have a value of a Date, Number, Percentage, Period, Rank, or Status.
There are several types of attributes that can be applied to a Rep. Here are a few examples.
-
An attribute called Waive Active would be used to identify a Rep as having met the Active qualification.
-
An attribute called Founder could be used to identify a Rep as being a Founder and thus eligible to receive a Found Bonus Pool, if such a bonus is configured.
-
An attribute called Attended Conference could be used to identify a Rep as having attended a conference, something that might be needed to pay out a configured bonus type.
¶ Adding Attributes
Below are the steps for adding a Rep Attribute to a particular Rep.
From the Rep Profile page navigate to: Representative → Bonus
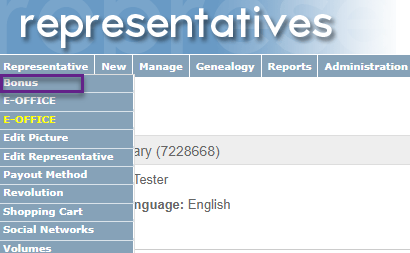
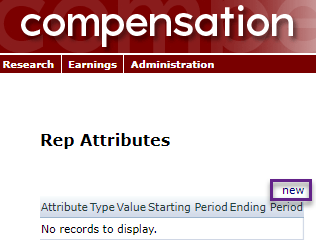
Then on this page navigate to: Administration → Attributes

On this page click on the word New above the table header row.
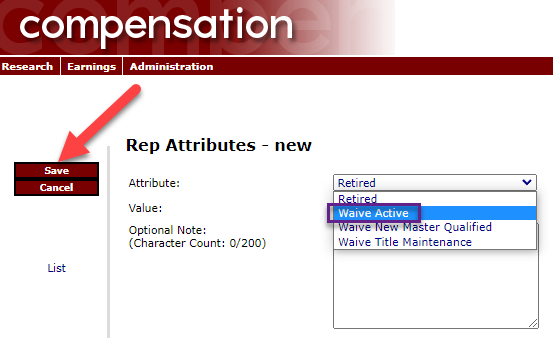
On this page you will see a dropdown of the available Rep Attributes configured in your system.
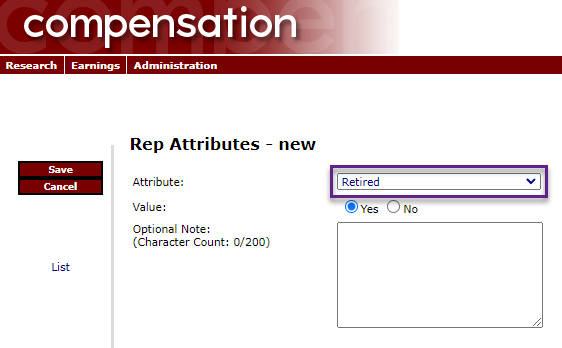
Select the appropriate attribute to be applied and click Save.
There may be Yes / No radio buttons on the page, but these do not need to be used. Having an attribute means you are using the Yes radio button. If you wish to remove an attribute, you can use the Delete button after navigating to it.
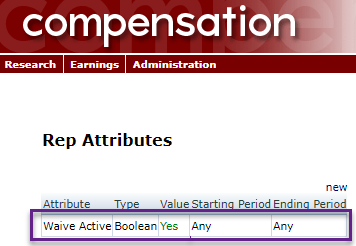
After Saving the attribute, it will appear in the list of attributes applied to the Rep:
¶ Removing Attributes
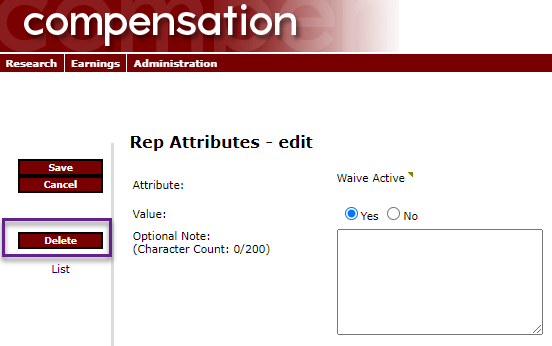
In order to remove the attribute, simply click the row of the applied attribute. This will bring you back to the page you previously used to assign the attribute. Now a Delete button will be displayed. Click this button to remove the attribute from the Rep.
A pop-up warning box will appear. Once you click OK on that warning, the Rep Attribute listing will appear again, and the deleted attribute will no longer be present in the list.
¶ Date Options
Some attributes may be configured in your system with Start and End Dates that can be used when the attribute is applied. These dates are based on your compensation period dates. You can either leave the default of "Any" in these fields, which will keep the attribute effective forever, or you can select specific dates for the attribute to be effective. After these dates have come and gone, the system will then ignore the attribute, although it will not be deleted from the Rep account, as it is historical information that you might need for research purposes in the future.
A Rep Attribute with Start and End dates might look something like this:
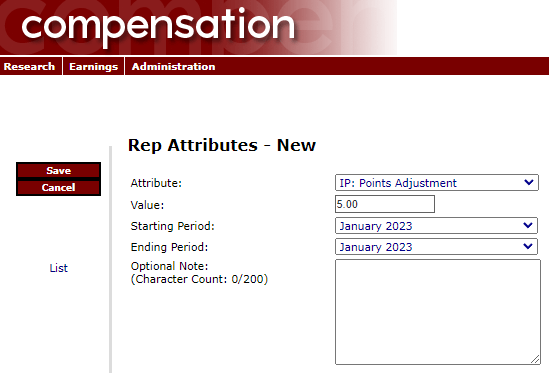
This Rep would have 5 Points being added to their Incentive Program for the month of January.